How to use Neurai-QT
Neurai-QT is the reference desktop wallet that runs a full Neurai node, validates every block, and exposes the complete feature set (staking, assets, and advanced scripting). This guide walks through the first launch, receiving and sending funds, and monitoring balances using the screenshots provided.
Installation
Download Neurai-QT
- Visit the Neurai wallets page
- Download the Neurai-QT wallet for your operating system
- Save Portable version in a folder and excute it.
1. First Launch & Data Directory
In Windows, a warning message will appear the first time because it is not encrypted with a Windows developer key. If you ignore it the first time, it will not appear again.
When you open Neurai-QT for the first time you are asked where to store the blockchain data. Pick a location with at least several gigabytes of free space before synchronizing.
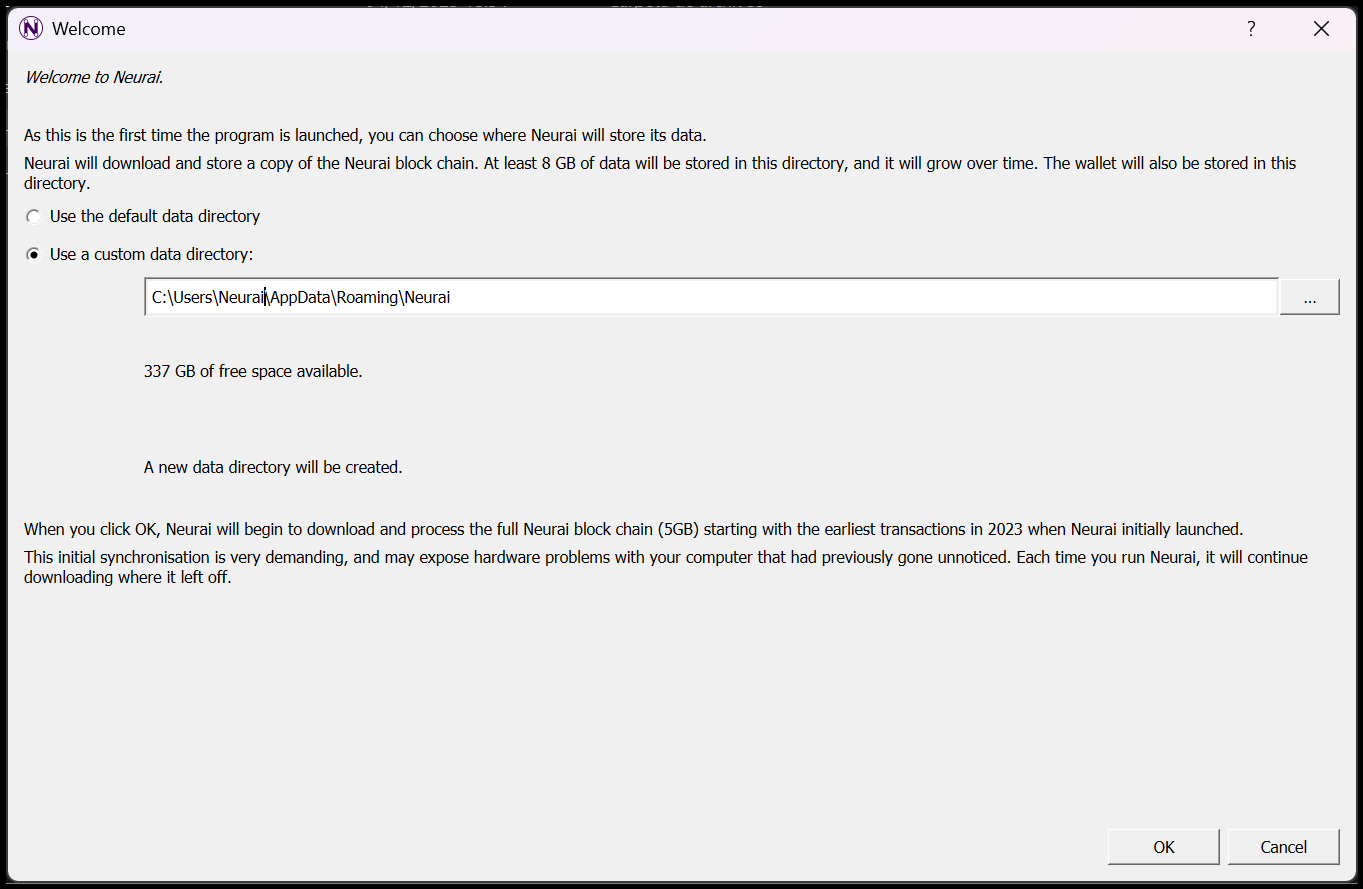
Point Neurai-QT to a dedicated data folder on your system.
The next window asks if you want to create a new wallet or restore one. This guide will be for creating a new wallet.
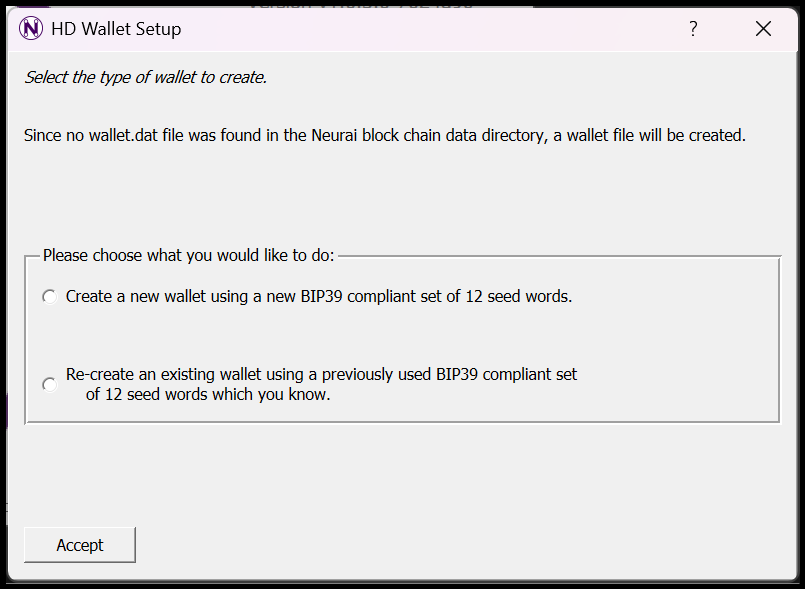
Create a new wallet to create 12 new words in BIP39 system.
Neurai-QT generates 12 BIP39 words randomly, and it is recommended to copy them to various storage devices such as paper, an encrypted file with a strong password, or any other method, because these 12 words are what will allow you to restore your wallet in the future.
CRITICAL STEP: You'll be shown a 12-word seed phrase.
- Write down these words in order on paper
- Store the paper in a secure location
- Never share your seed phrase with anyone
- Never store it digitally (no photos, no cloud storage)
- This is the ONLY way to recover your wallet
Example format:
1. word1    2. word2    3. word3    4. word4
5. word5    6. word6    7. word7    8. word8
9. word9    10. word10  11. word11  12. word12
Once confirmed, the node starts downloading headers and blocks. Allow the synchronization to reach 100% before attempting transfers.
The first time it may take about 24 hours to synchronize. This is normal because it must download the entire blockchain, and once downloaded, it will only need to update the latest blocks each time the wallet is run.
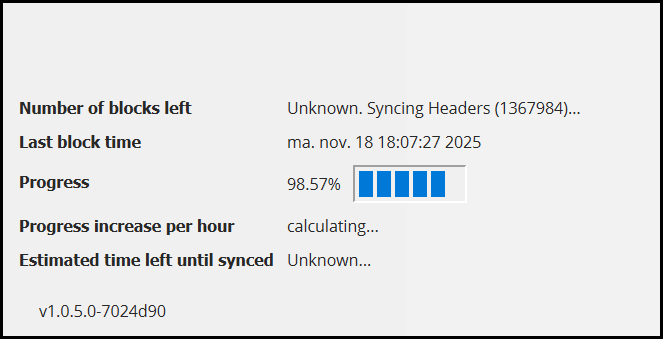
The status bar shows synchronization progress and peer connections.
2. Wallet Dashboard Overview
After syncing, the main dashboard displays recent transactions, total balance, and quick links to Send/Receive tabs.
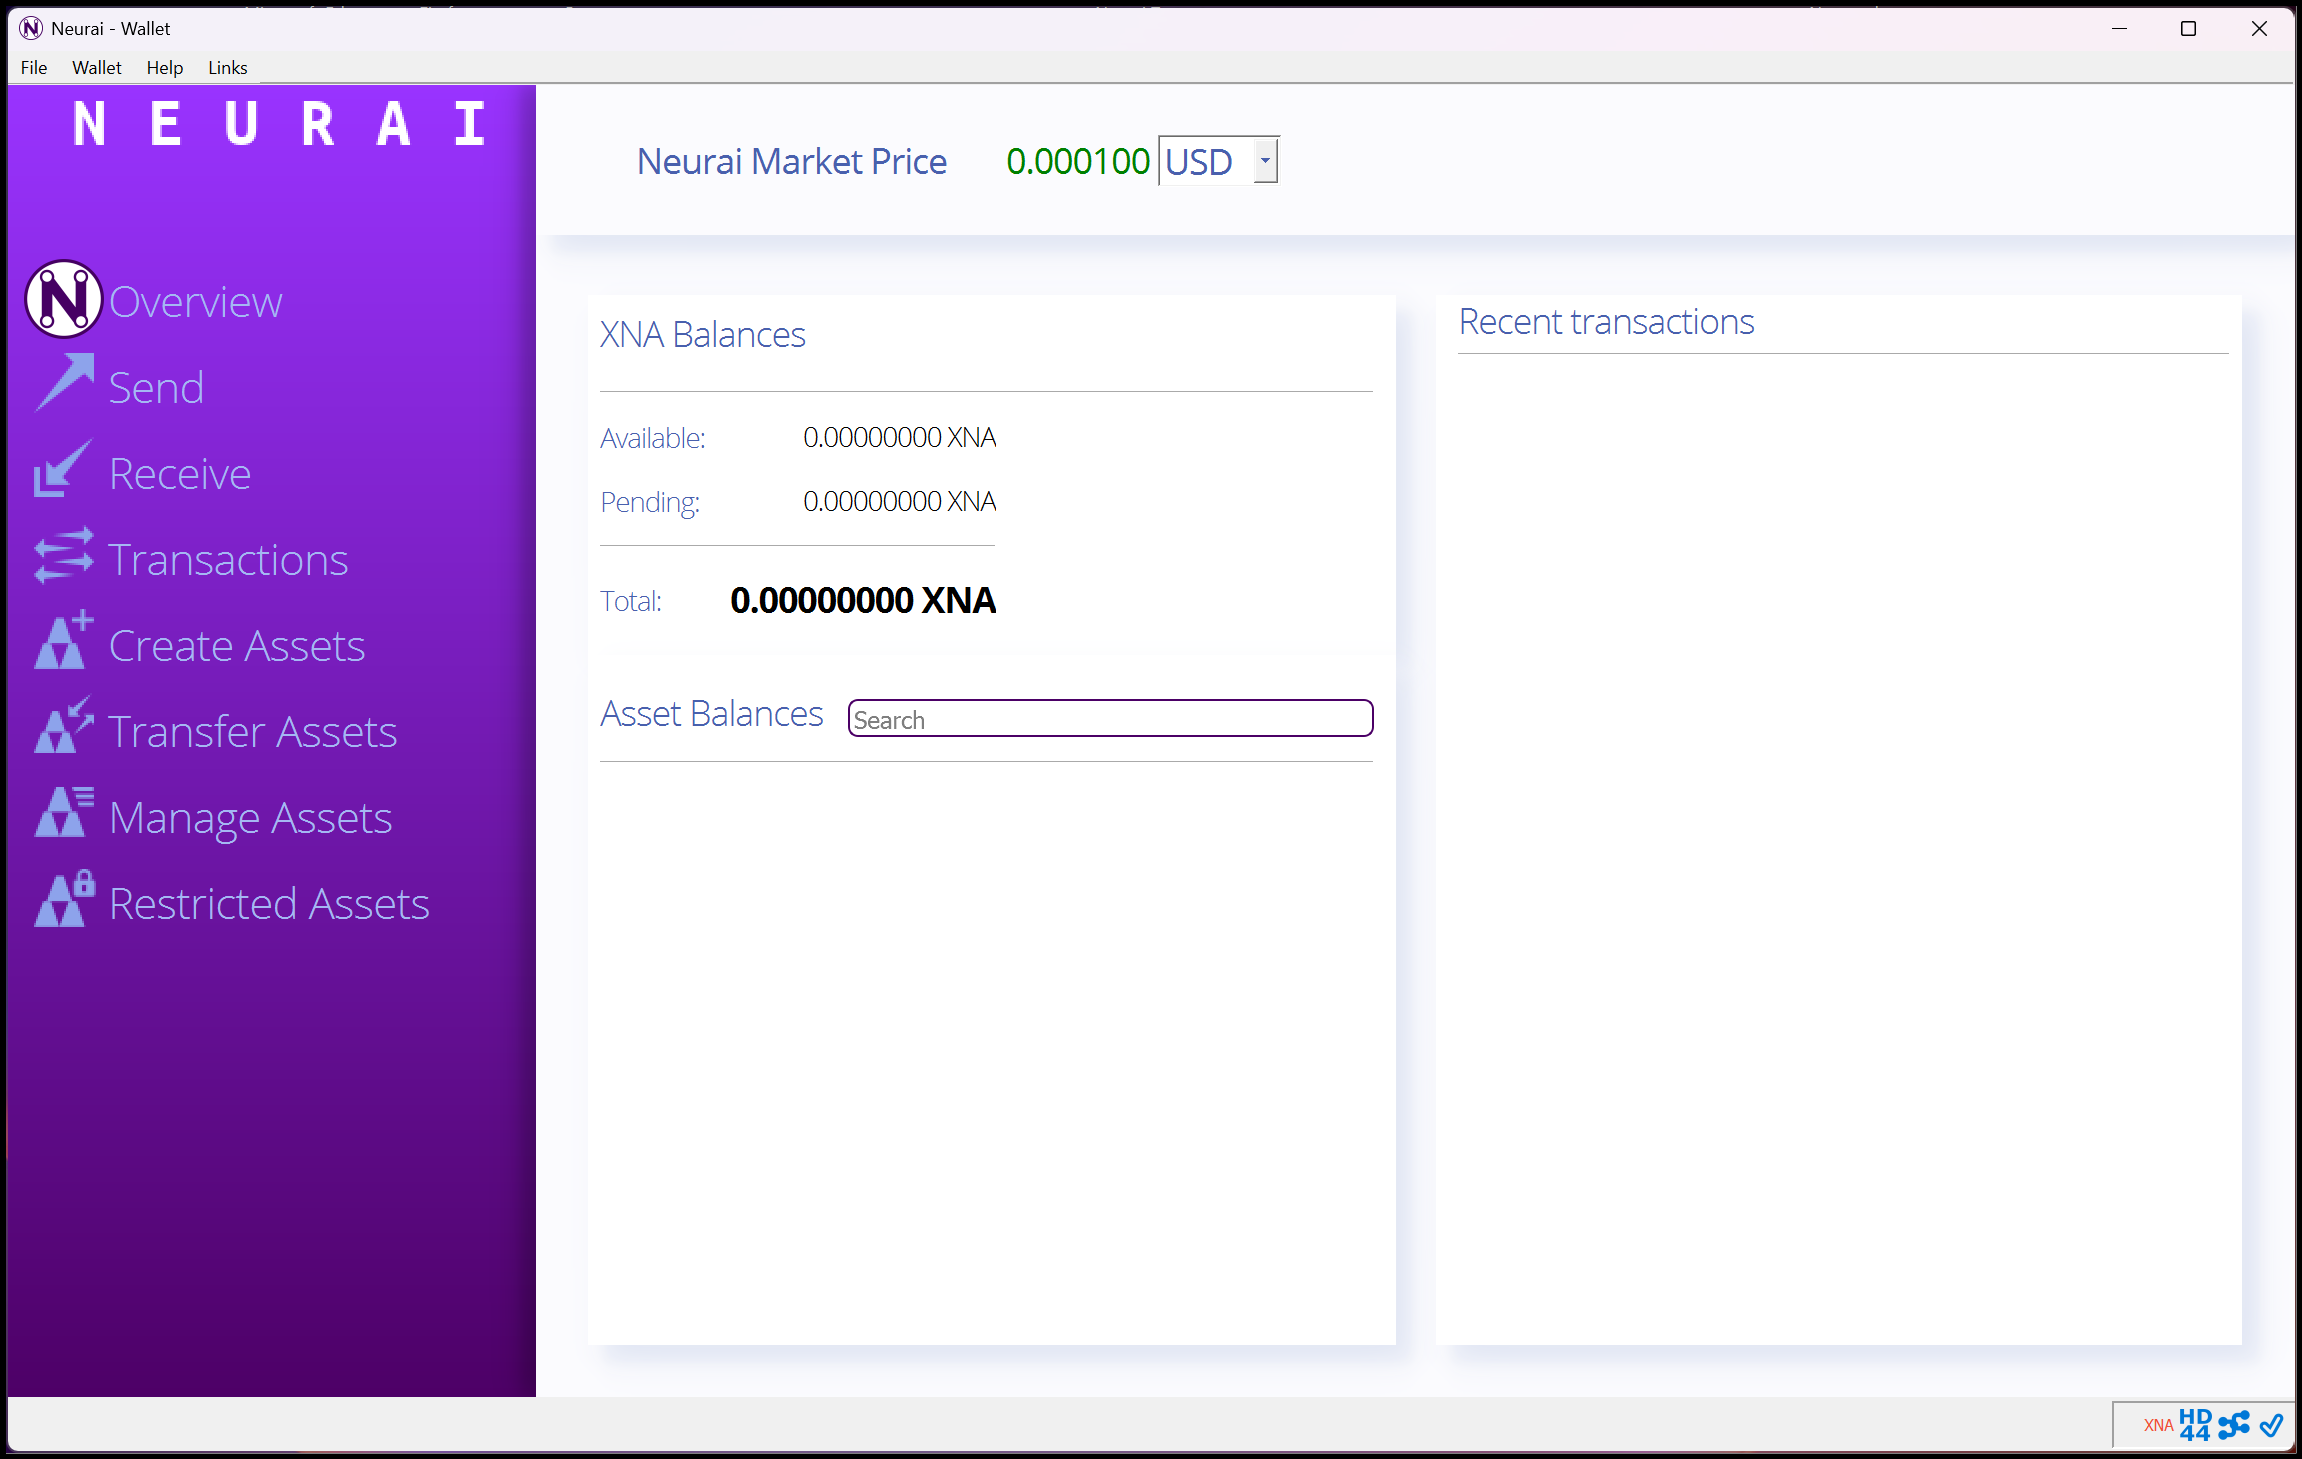
The Overview tab summarizes balances, recent activity, and network status.
3. Receiving Neurai (XNA)
Navigate to the Receive tab to generate payment requests. Add an optional label or message to keep track of who is sending the funds.

Create labeled payment requests for better bookkeeping.
Click Request Payment to produce a fresh address and QR code. Reuse addresses only if absolutely necessary.

Copy the address or save the QR code before sharing it with the sender.
4. Sending Neurai (XNA)
Open the Send tab to initiate a transfer. Paste the recipient address, specify the amount in XNA, include an optional label, and adjust the fee slider if needed. Always double-check the address and amount before clicking Send.
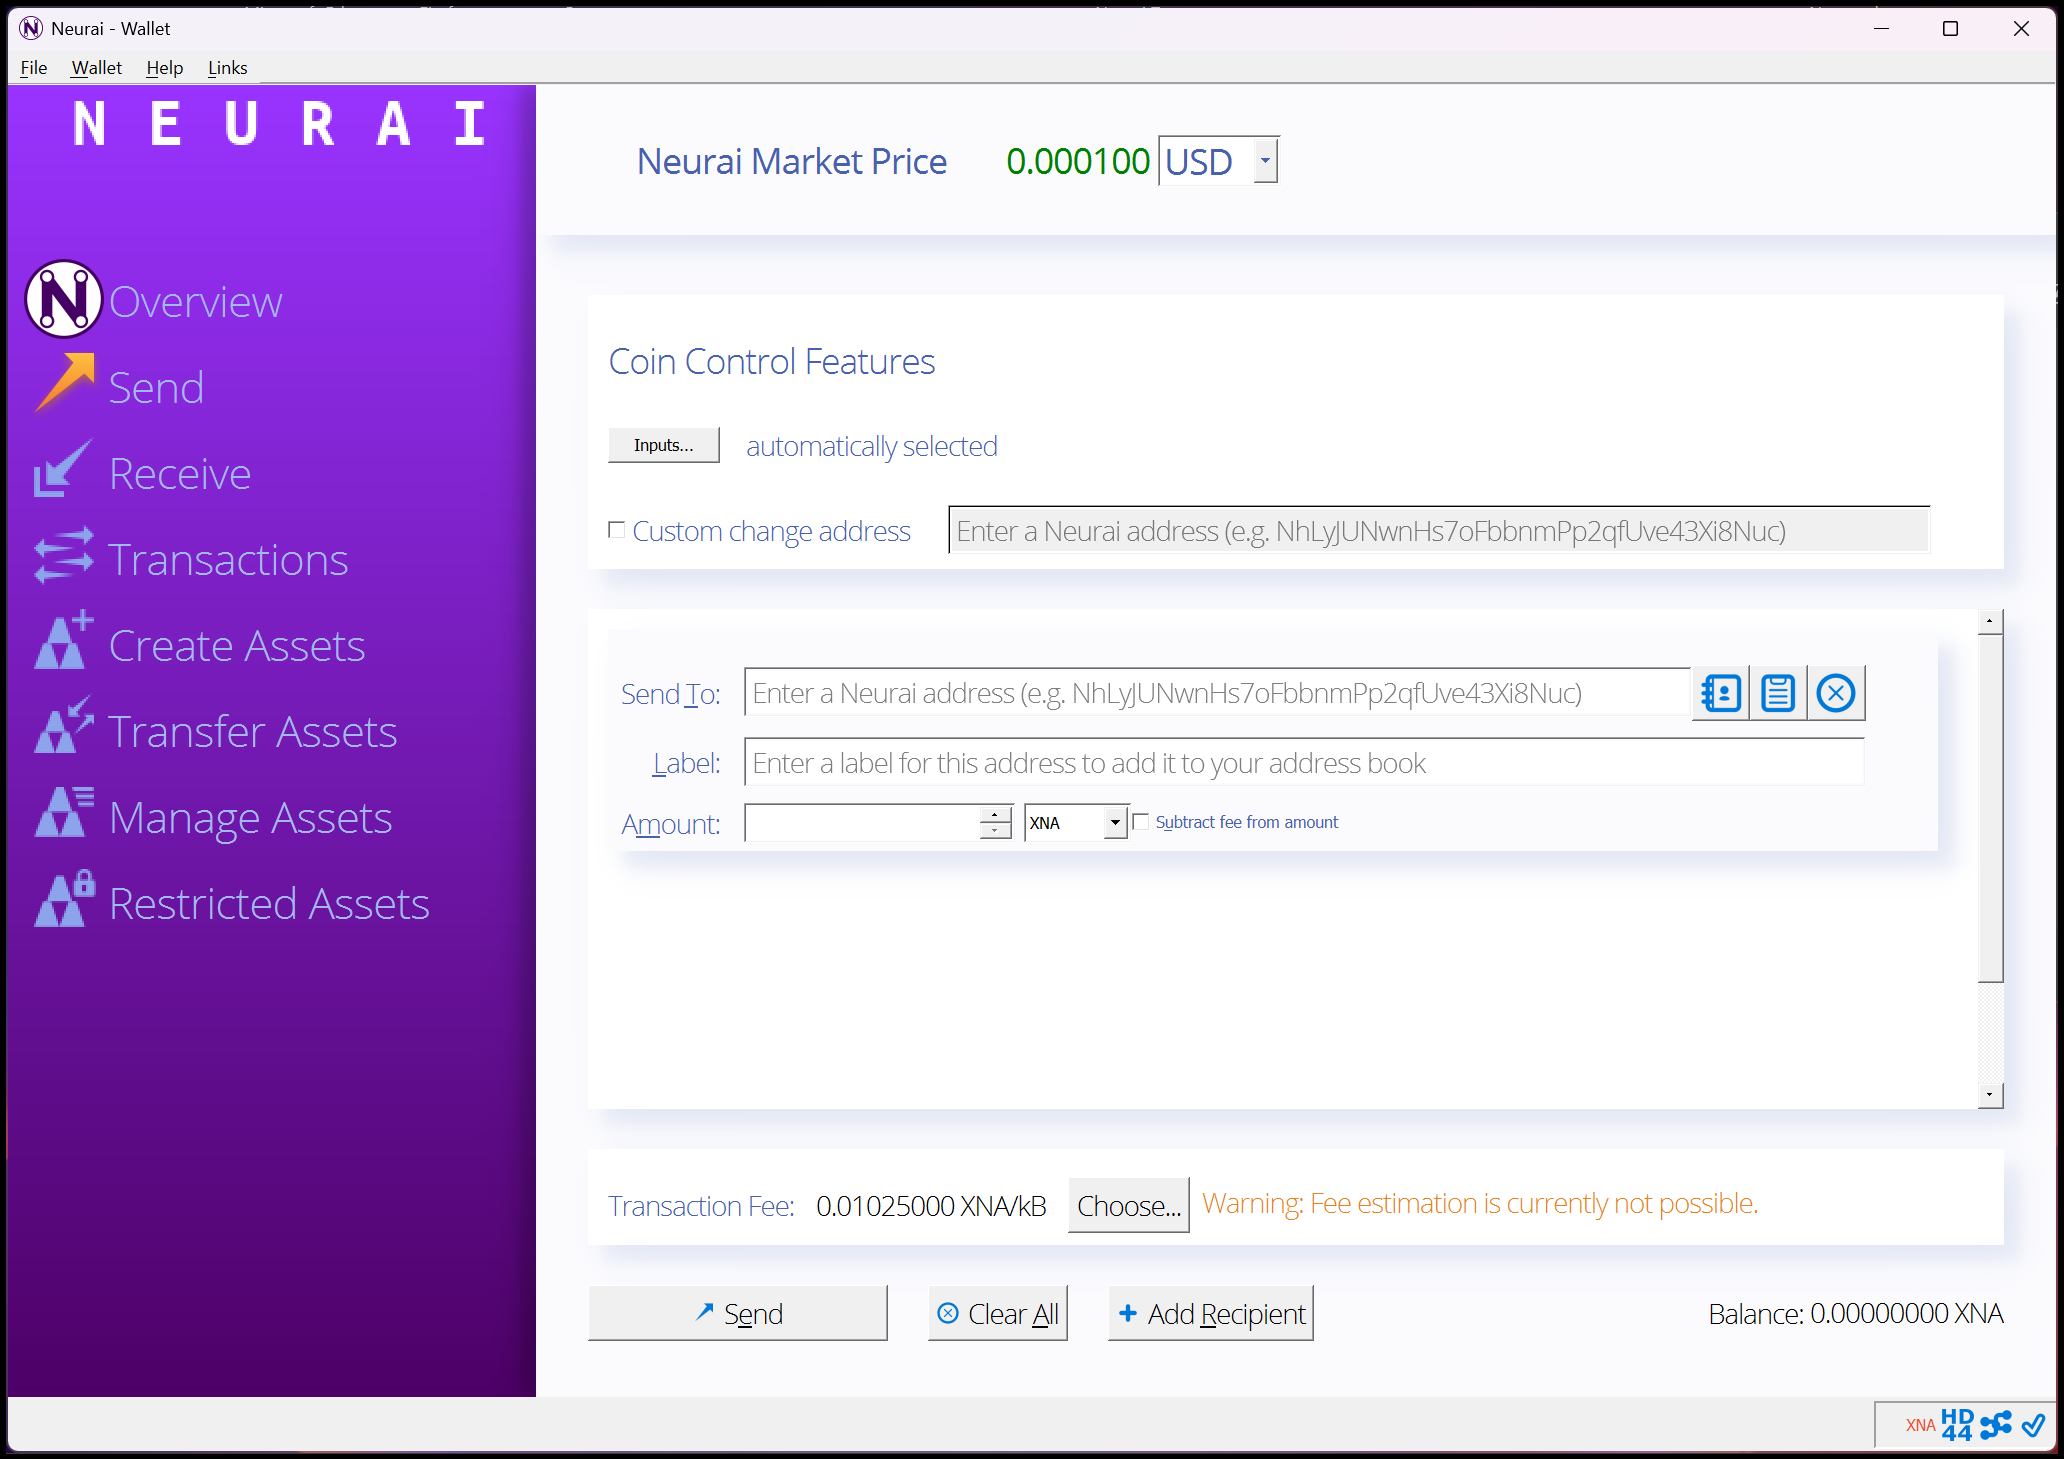
Review every field twice before final confirmation.
5. Managing Assets & Balances
Use the Assets or Transactions sections to inspect balances, tokens, and confirmations. This view helps verify that all expected deposits have settled.

Monitor token balances, maturity, and confirmation depth from a single panel.